Bombay YMCA - Dining Process – Help Guide (IH Front Office)
By Saloni on September 22, 2025
IntermediateThe Dining module in IH Front Office helps you manage guest dining activities including reservations, meal plans, billing, and check-outs. Follow the steps below to handle dining efficiently.
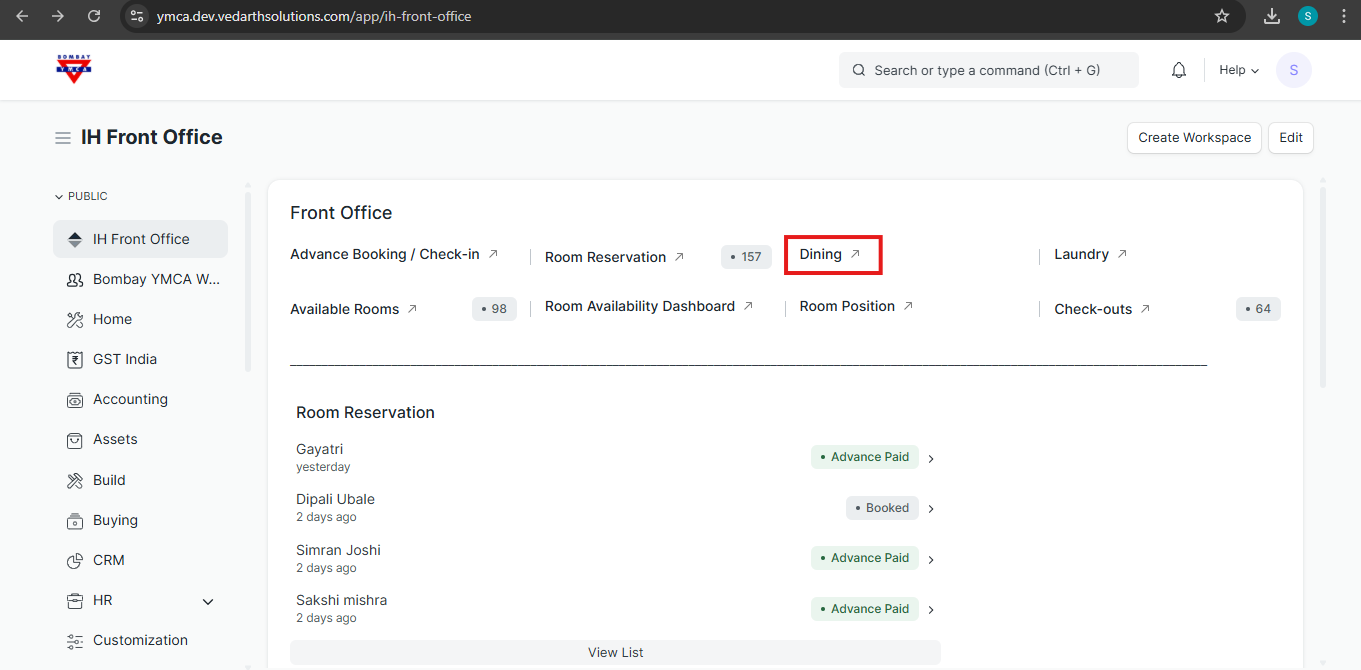
1. Accessing Dining
- From the Front Office Dashboard, click on Dining.
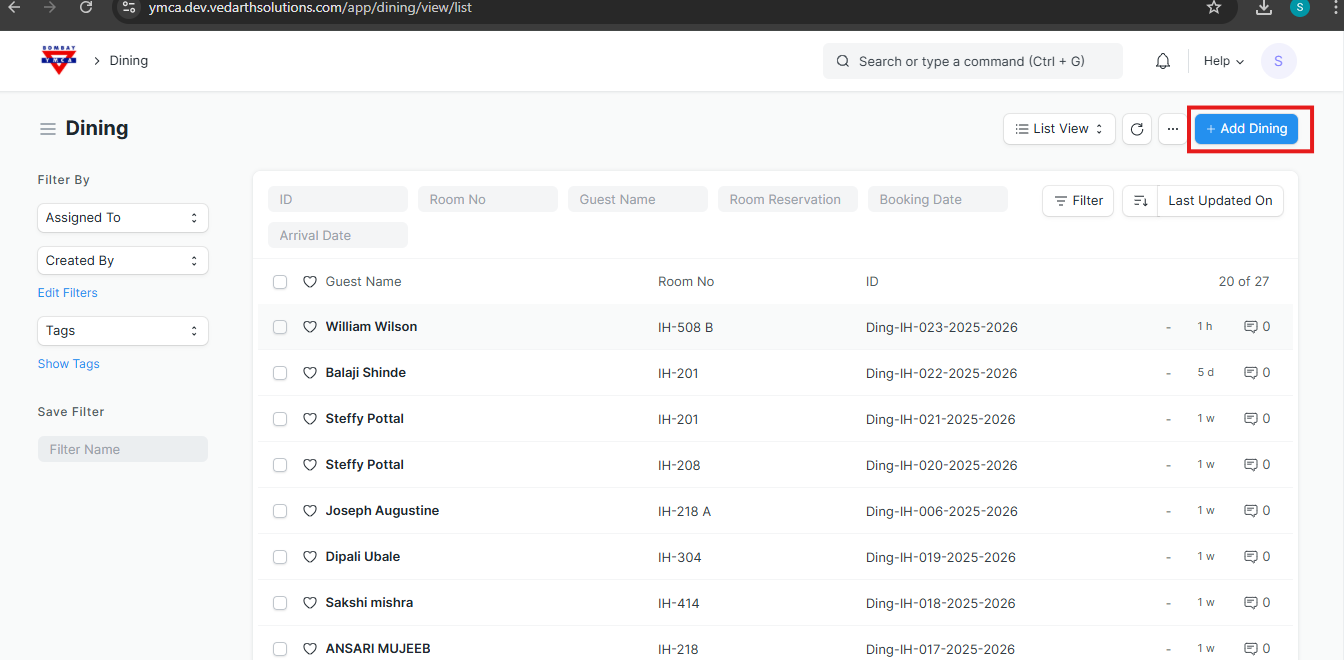
- This will open the Dining section where you can view and manage all dining-related entries.
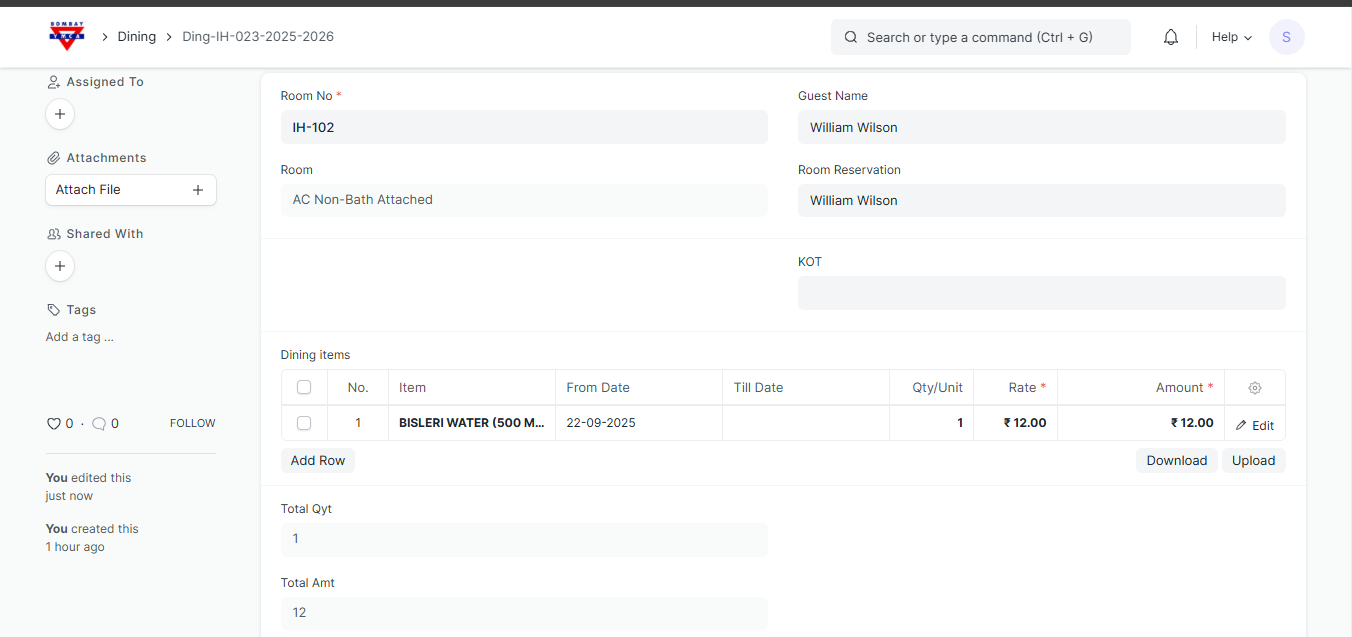
2. Basic Guest Details
1. In the Room No. field, start typing or click the dropdown.
Room No. (e.g., IH-102, IH-103, IH-201)
2. The system will display a list of available rooms with details:
Room Type (e.g., AC Bath Attached, Non-AC Bath Attached, Single AC Room)
Room Reservation → Displays the reservation reference if linked.
KOT (Kitchen Order Ticket) → Used for kitchen staff to process orders (optional field).
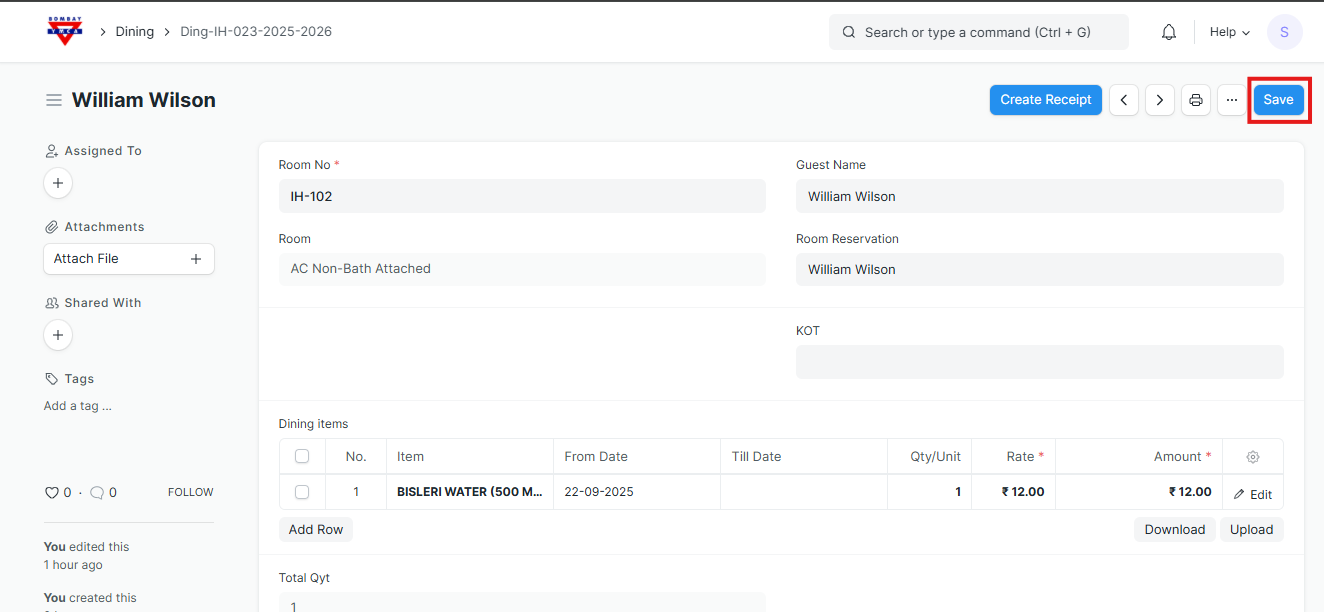
3. Dining Items Section
This is where staff add the food or beverage items ordered.
- Item → Select from the predefined dining menu (example: Bisleri Water 500ml).
- From Date / Till Date → Useful for multiple-day meal packages (e.g., breakfast included for 3 days).
- Qty/Unit → Number of items ordered (example: 1 bottle).
- Rate → Unit price (auto-fetched from the menu item, e.g., ₹12.00).
- Amount → Auto-calculated (Qty × Rate).
👉 Staff can click Add Row to include multiple dining items in one entry.
Totals Section
- Total Qty → Sum of all quantities in the dining order.
- Total Amt → Sum of all item amounts (example: ₹12).
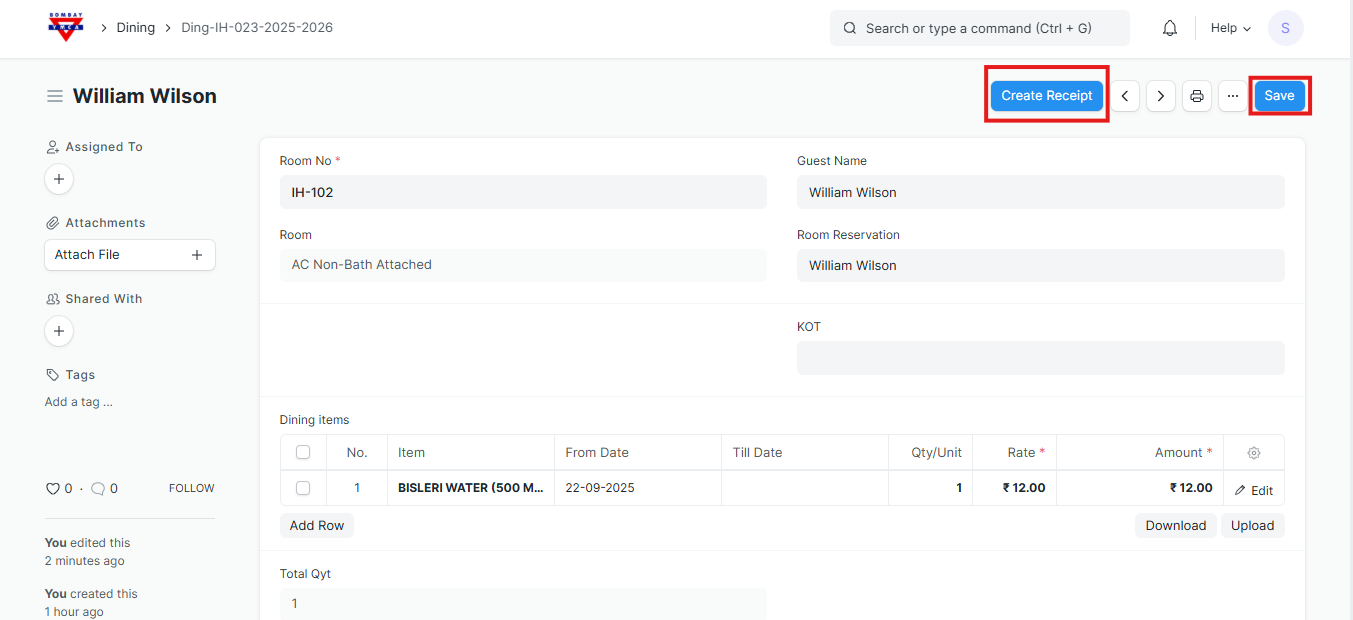
- Save the Dining order.
- Once saved, you will see the Create Receipt button on the form.
Click on Create Receipt
- Click Create → Receipt.
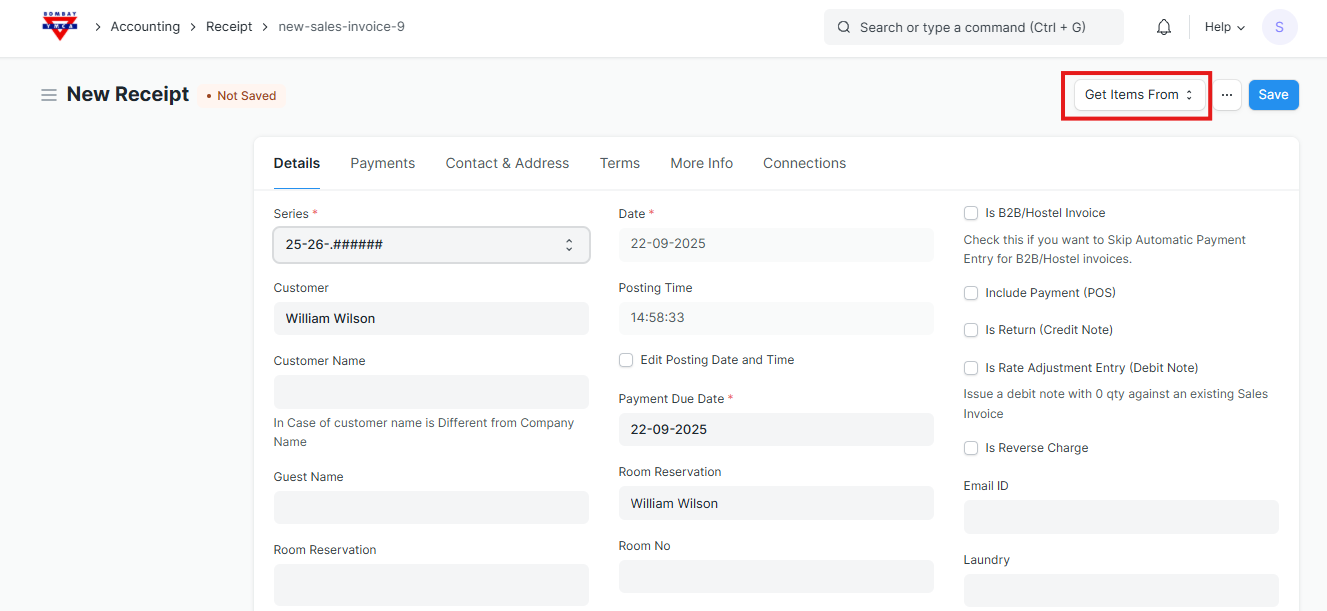
- The system will automatically open a new Receipt form.
How to Create a Receipt from Dining in ERPNext
Steps to Create a Receipt from Dining
Auto-Fetched Details
The following details will be automatically filled in from the Dining entry:
- Customer Name
- Room Reservation / Guest Name (if applicable)
- Cost Center (linked to dining)
- Posting Date & Time

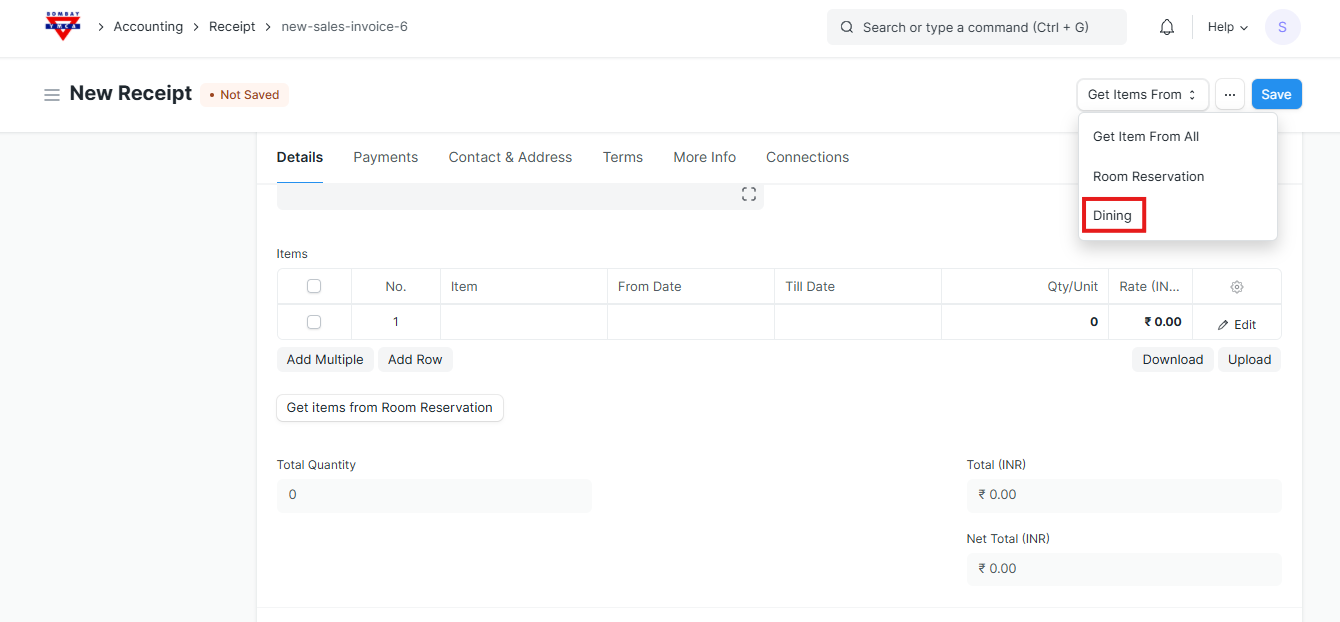
Add Dining Items
- Click on Get Items From → Dining.
- Select the respective Dining entry.
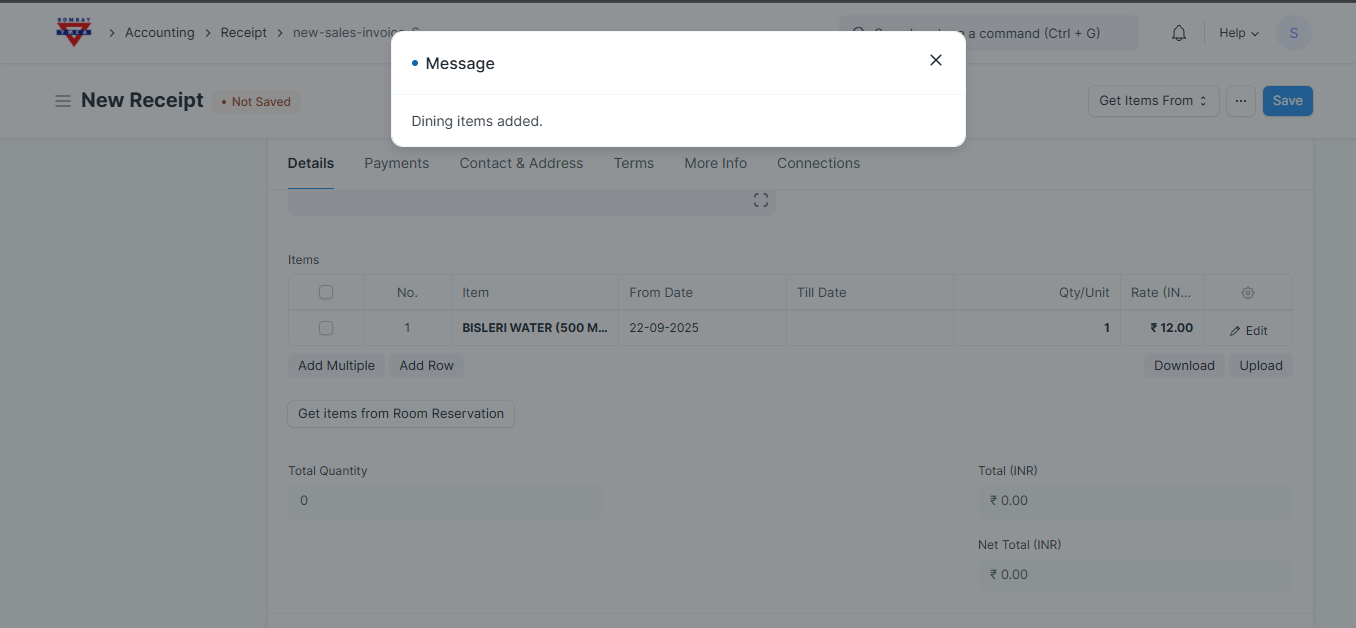
- All dining items will be fetched and added to the receipt automatically.
- You will see a confirmation message: Dining items added.
Items will get added.
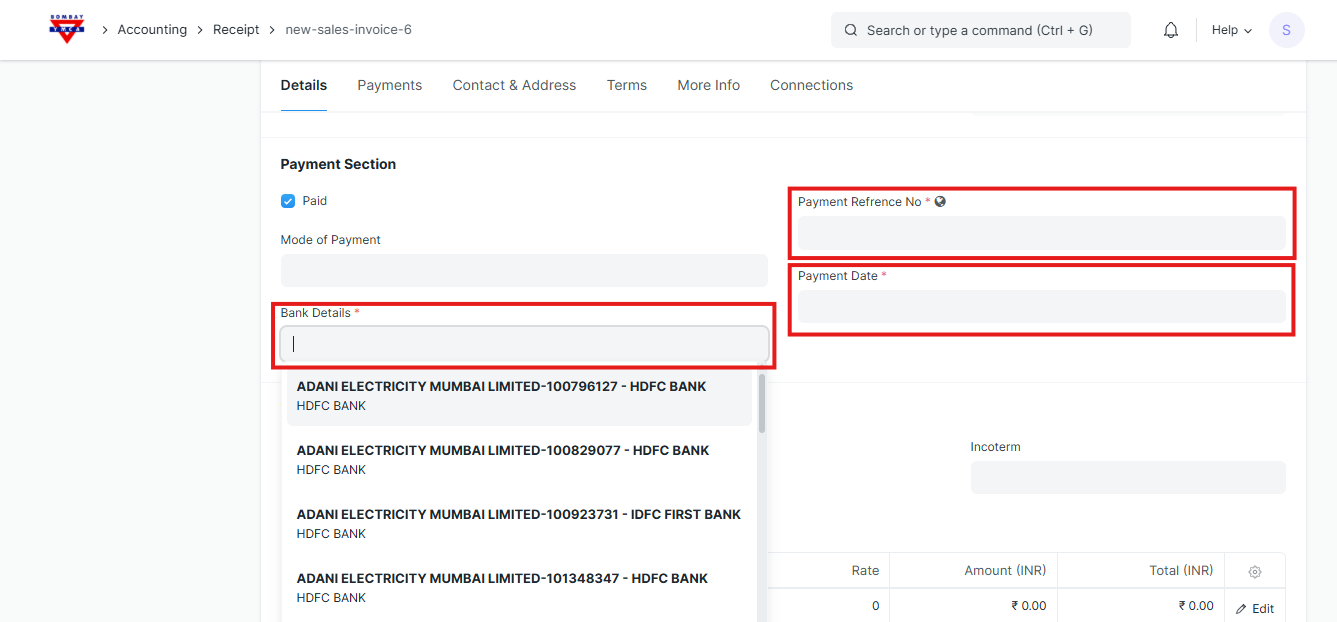
Enter Payment Details
- Bank Account Select the correct account from the drop-down list (e.g., HDFC Bank, SBI Bank).
- Payment Reference No (Cheque No, Transaction ID, UTR, etc.)
- Payment Date
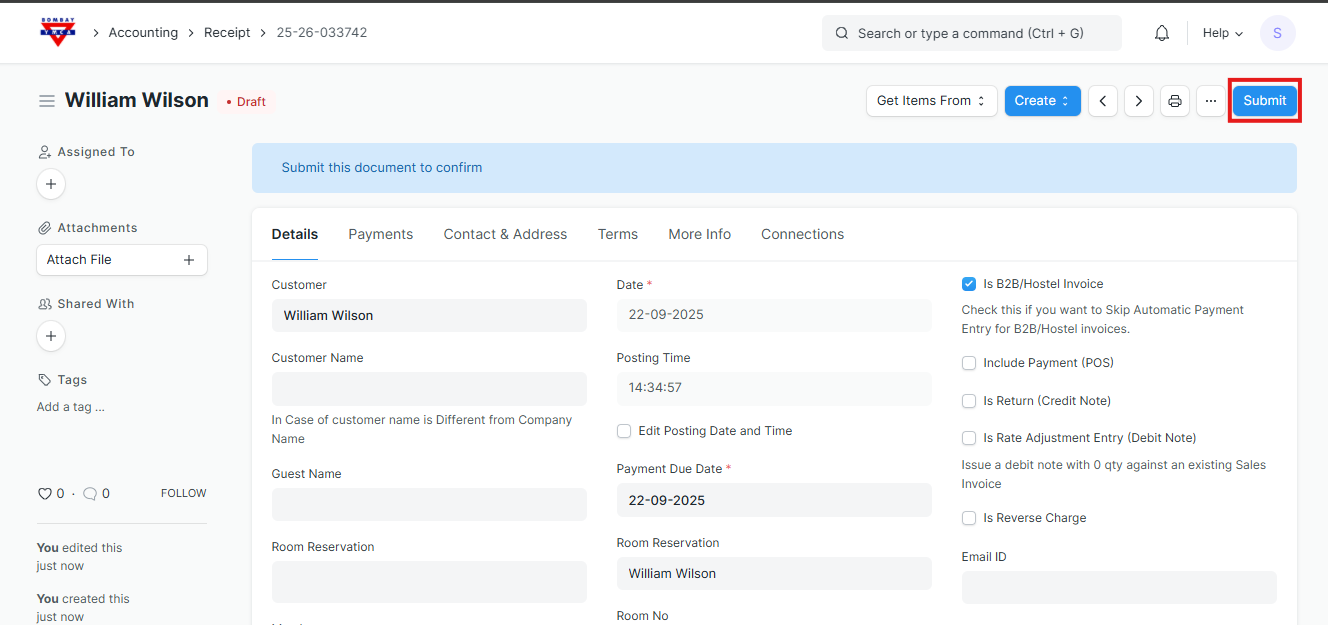
Save and Submit
- Click Save the receipt.
- Review all details (items, amounts, customer, and payment info).
- Click Submit to finalize the receipt.
- Once submitted, the accounting entries will be automatically created.
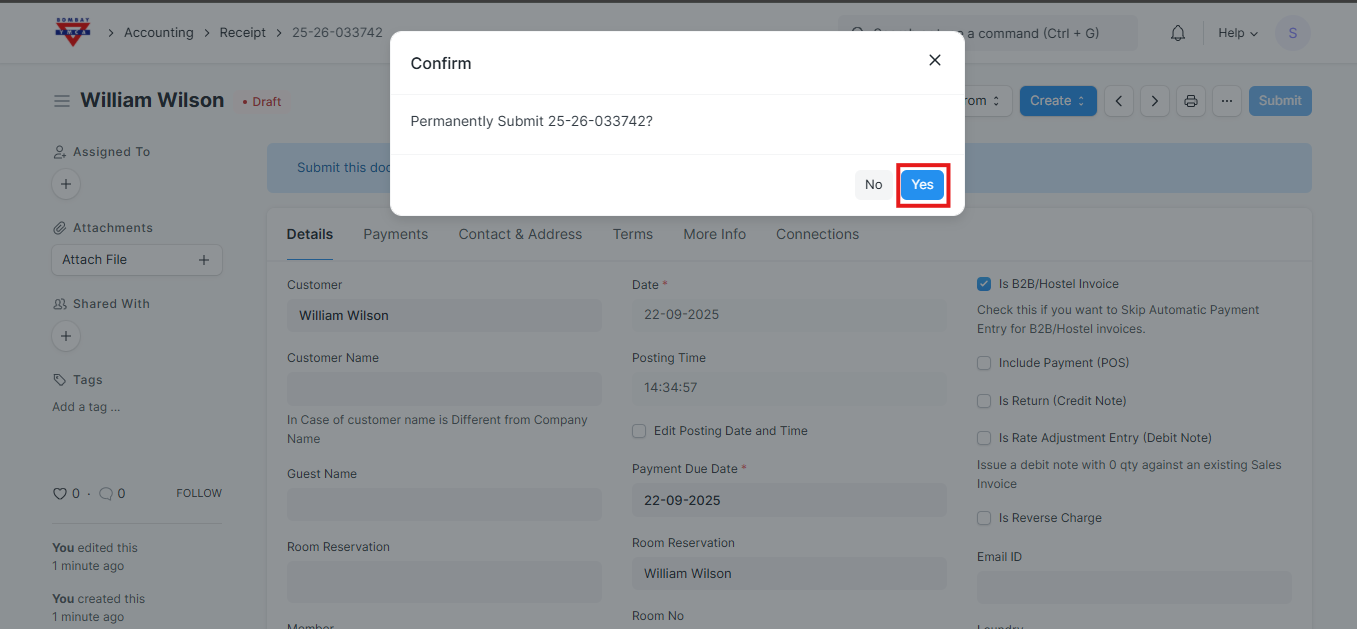
Click Submit to finalize the receipt.
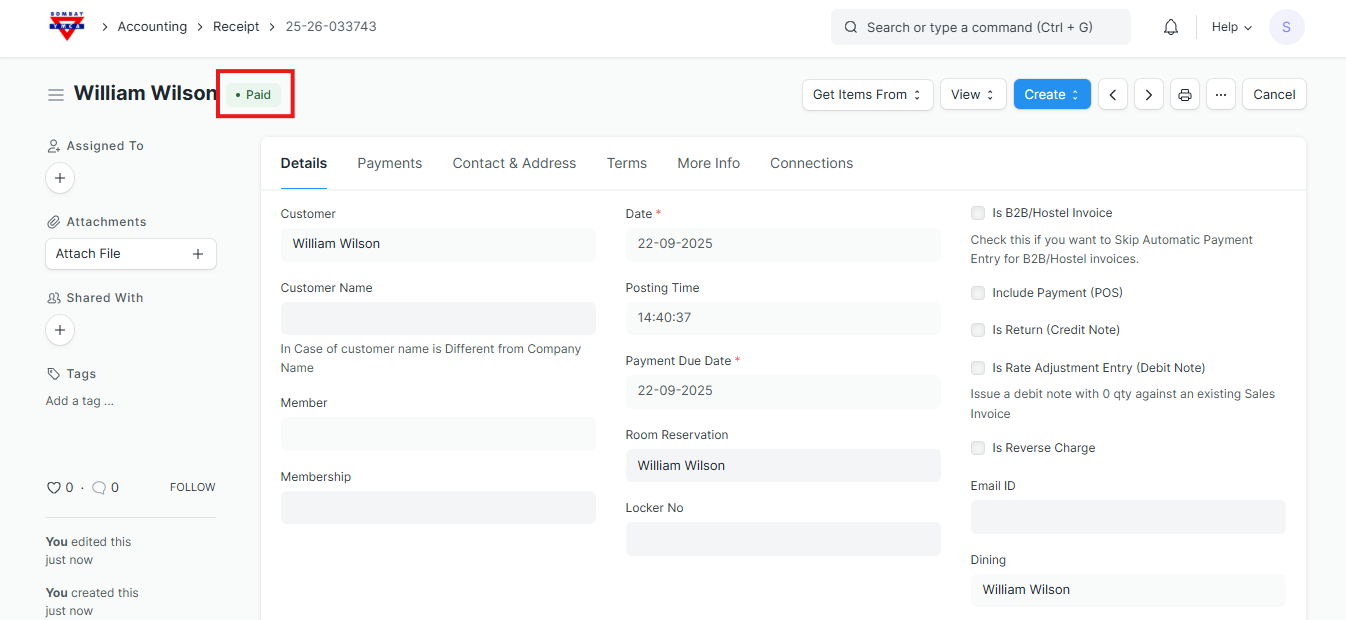
Confirm it by clicking on yes
The bill is marked as Paid.
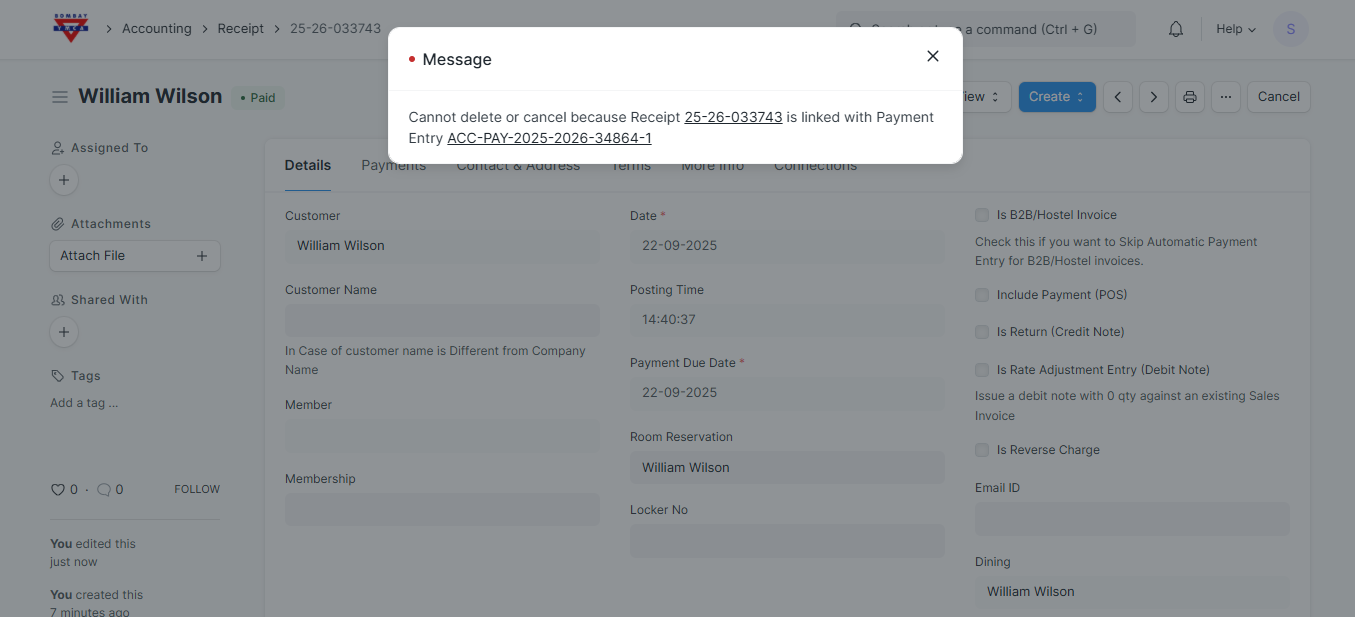
Cancellation of Receipt
- If you need to cancel the receipt, you must also cancel the linked Payment Entry.
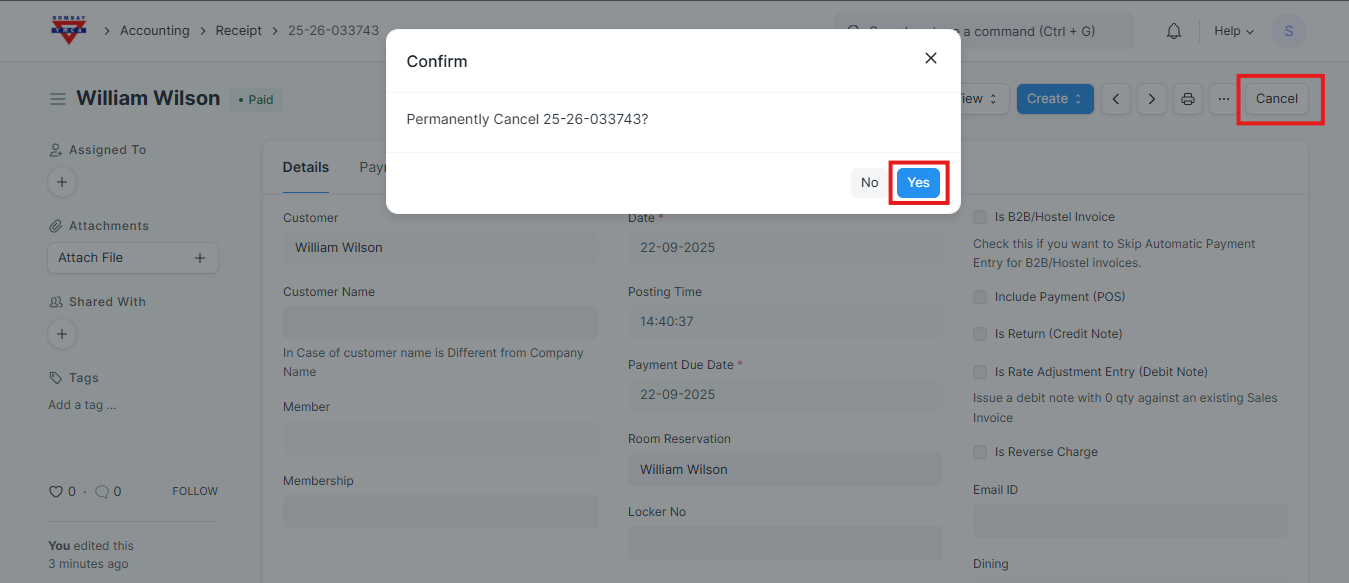
- To do this:
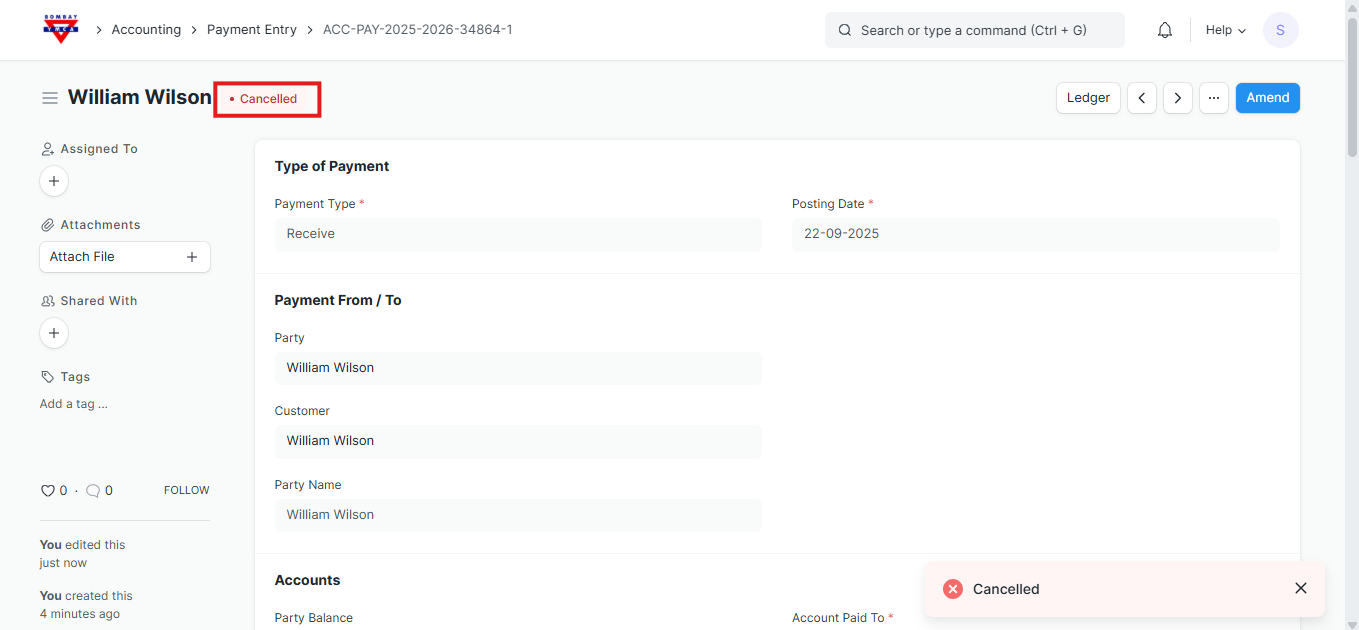
- Click on that Payment Entry
Open it and click Cancel.
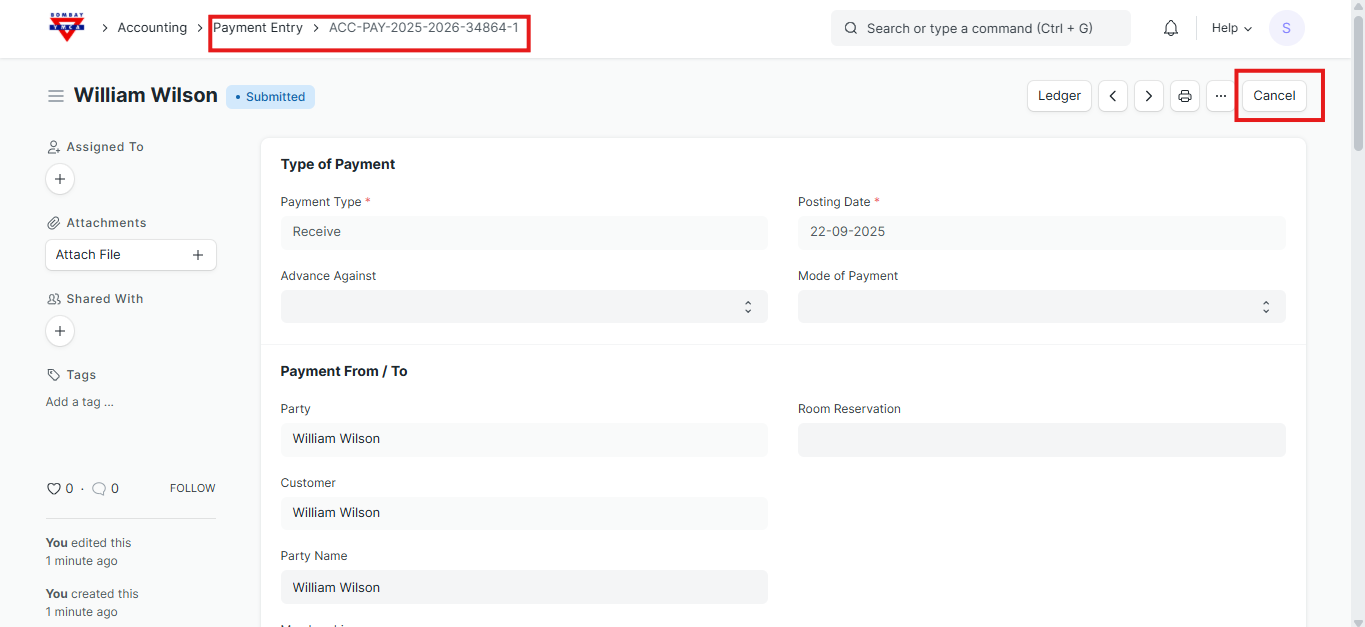
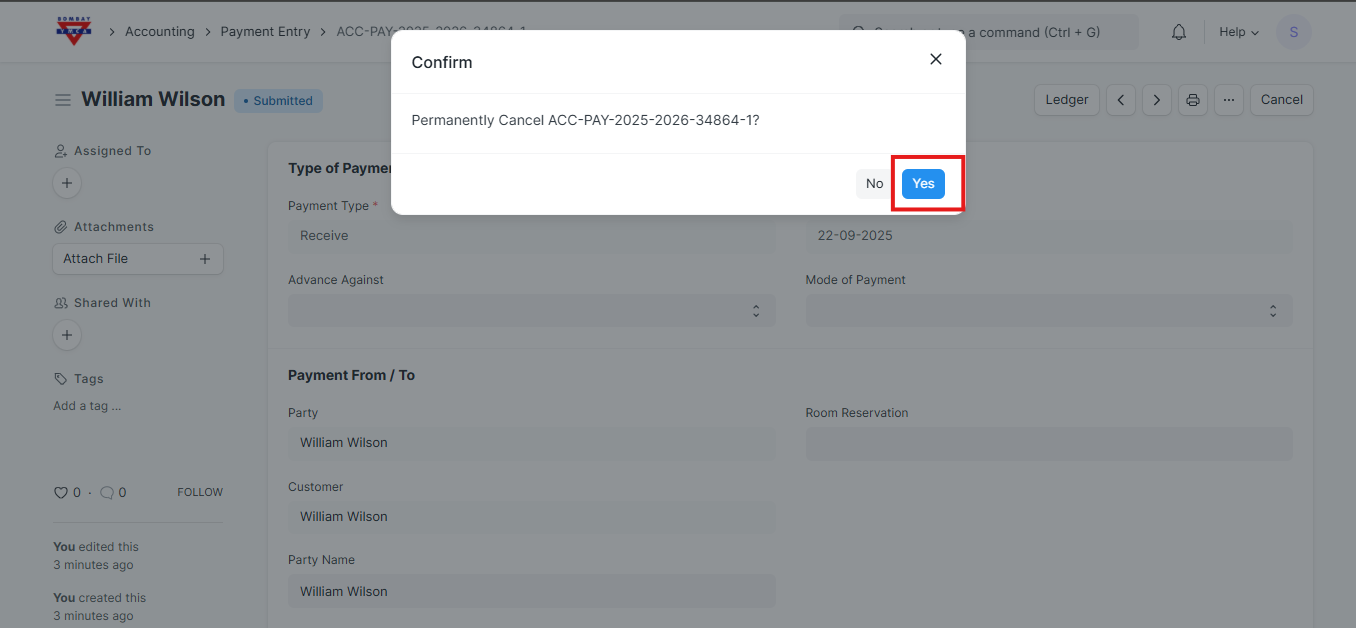
Once the Payment Entry is cancelled, the linked Receipt will also get cancelled automatically.
More articles on IH Guest Booking